Registering your M1 to our Cloud
An M1 Cloud Account ID is required to register your M1 panel to our cloud. If you haven't yet got an M1 Cloud Account ID then the following link may assist getting one.
-> Getting an M1 Cloud Account ID
Once you have your M1 Cloud Account ID, you need to open the app and login to your account. If you don't have an account yet then you can open one by tapping on the 'Create an Account' button at the bottom of the screen.
If you have no panels assigned to your login then it will automatically prompt you to add a new panel.
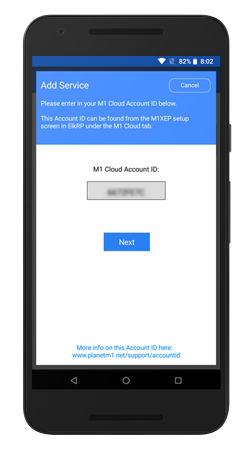
Enter in your M1 Cloud Account ID when prompted.
Pressing the Next button will check and confirm the account ID is valid and authorized to connect to our cloud.

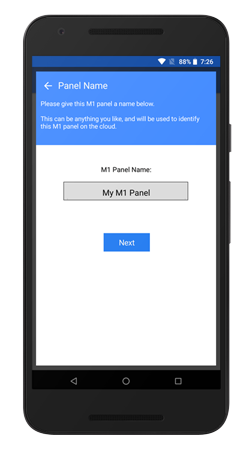
Once your M1 Cloud Account ID has been verified by our cloud, you need to give this panel a name. This name is used to help identify your panel in case you have mutliple panels.

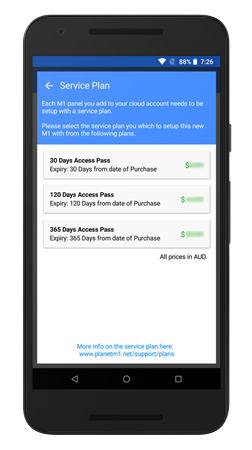
Next you need to choose which service plan you want to use for this panel.
Each service plan provides the same service, except for the expiry date.
Prices may vary pending on country and location.

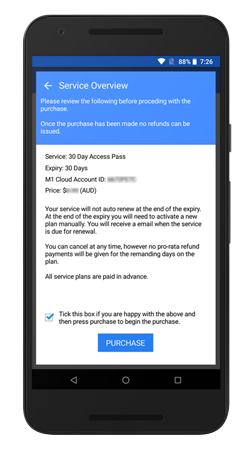
The purchase overview is then shown before the payment is processed.
Review the purchase on the screen to ensure it's correct. If the details look correct, tap on the purchase button.
A Google Play or Apple App Store prompt will display to begin the payment.

If the payment was successful, then the cloud will assign the M1 to your account in a 'connection pending' state.
Connections States- Connection Pending
A Connection pending state means that the M1 hasn't yet connected to the cloud.
- Active (Syncing)
A Active (Syncing) state means that the M1 has made connection to the cloud but it's begining to synchronize it's status to the cloud.
- Active
Once your panel is in an Active state then it's ready to be used.
- Connection Issue
If panel shows it's got a connection issue, then it means that your M1 has lost communication to the cloud.
- M1 Account Service Expired
If your service expires, then the connection will end up in a expired state and you will need to re-new your service before you can use it again.